DIY plywood table
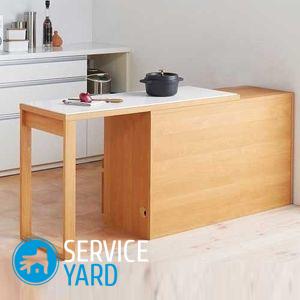
Home-made furniture is now in great fashion. She has a lot of advantages over the factory - the home master knows exactly what he made his cabinets and armchairs from, and usually tries to ensure that his creations not only decorate the interior, but also serve for a long time. If you decide to do this and you have some materials left after the repair, for a start you can try to make a table out of plywood with your own hands. Some models will be discussed in our article.
to contents ↑What would you like?
Plywood is an excellent material from which, in principle, any furniture can be made, and for a table it is even more suitable than the currently popular chipboard. But before you make a table from plywood, think about what your product should be:
- compact
- convenient;
- beautiful.
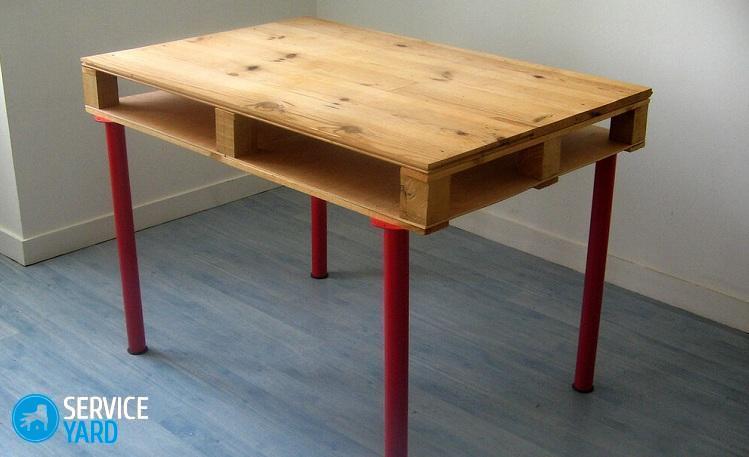
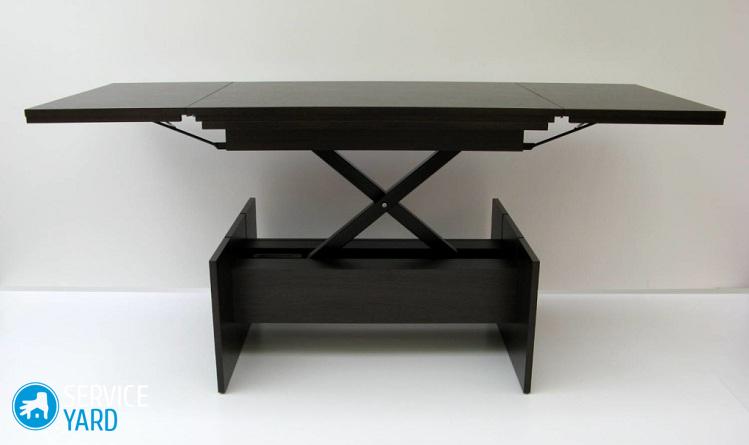
Otherwise, it just makes no sense to get down to business. In stores you will find a lot of different tables made of the most unexpected materials. Among them, for sure, there are tables made of plywood. There are many options that you can do with your own hands:
- magazine;
- children;
- writing;
- kitchen;
- workbench table;
- any other model, including secretary tables and models combined with cabinets.
Much depends on what made you get down to business. Do you want to seriously engage in the manufacture of furniture, fully furnish your apartment or do you just have pieces of plywood left that you need to apply somewhere? But in any case, it's better to start with something small.
to contents ↑Important! The first plywood table may be a coffee table - the remnants of what you used during the repair will go away. By the way, not necessarily plywood - there may be a laminate, and chipboard.
Coffee table
To make a small table out of plywood with your own hands, drawings are optional, but a template is very useful. The table, which is described later, is attached to the wall.
Important! Your future product may be of different heights, in this case it is not necessary to comply with sanitary standards that prescribe how to sit at a table and how legs should stand. There is a magazine on it, there is a figurine and a table lamp.
Search through the bins and see if you have:
- a piece of plywood for the countertop;
- a small but whole sheet of plywood or thick cardboard - it is needed for the template;
- carpentry or other moisture resistant glue;
- jigsaw;
- a circular saw;
- pencil;
- vise;
- grinding machine (you can do just sandpaper, but it will take more time);
- fasteners;
- the remains of wallpaper, a sheet of Whatman paper or graph paper;
- long ruler;
- varnish, wax or oil.
We collect the legs and prepare the details
We start making a table with a sketch:
- Think of the shape of the countertop - it can be rectangular, square, round, oval, with a recess or even a fanciful shape.
- Think of the shape of the legs - you can make them straight or curved.
- Draw it all on a piece of paper.
- Estimate the size. The table is small, so the main parameter to be guided by is the size of the plywood sheet, unless, of course, you plan to make a stacked countertop from pieces.
- Draw the legs on a large sheet in full size.
- Transfer the drawing onto thick cardboard.
- Cut the legs according to the pattern - if the shape is complex, you can use not an electric, but an ordinary manual jigsaw.
- If the plywood is not thick enough, make the legs double-layered.
- Glue the layers together.
- Remove excess glue and allow workpieces to dry.
- Place the legs on a flat surface.
- Align them to the pattern.
Important! The model, which is attached to the wall, has only two legs.
Countertop
If the countertop is simple and made from a single piece, there is no problem. They just cut it out. It is another matter if you have only pieces of plywood or if you want to make a typesetting pattern from different types of wood. In this case, the fragments are cut at an angle so that it is possible to make a flat surface out of them and the seams are not noticeable. First you need to glue the pieces into a single whole, and only then cut the countertop according to the pattern. After the blanks appear, do the following:
- We grind the surface of the legs and countertops - we get rid of splinters, sharp corners, etc.
- On the underside of the countertop, we outline places for screws.
- We fasten the legs using furniture corners.
- On the wall we outline a straight line for fasteners.
- We fix the table to the corners or to the metal profile.
to contents ↑Important! Corners must be attached from below under the countertop so that they are not visible from the outside.
Which plywood to choose?
Do-it-yourself plywood table does not have to be fixed to the wall. You can make the most ordinary table, on one or four legs. And his size can be much larger. But in such cases, you won’t get rid of the rest of the materials, you need to choose plywood specifically, and the question arises, which one.
Important! Plywood is a glued veneer, and the number of layers is always odd, and most often it is divided by 3.
This material has enough advantages, and the main ones are strength and abrasion resistance. They are due to the location of the fibers. For the manufacture of plywood are used:
- Birch;
- coniferous trees.
Important! There are also species when the veneer is made of birch, and the inner layers are made of coniferous trees. These are fairly cheap grades. There is material made entirely of deciduous trees, but it is more expensive.
On the price tags in the store you can find some not quite clear notations:
- mark;
- variety;
- grinding.
Mark
The brand denotes such qualities of plywood as:
- moisture resistance;
- application area.
You may come across the following notation:
- FC;
- FSF;
- FCM;
- FOF;
- FBA
Here is what you need to remember:
- FC means that glue made of urea resins was used, this brand is used for furniture and interior work in rooms.
- For outdoor work, FSF is used - it is a moisture-resistant material, but formaldehydes are included in the composition, this option is not suitable for furniture.
- Melamine resins are used for FCM plywood, which makes it possible to use the material for all works.
- FBA means that plywood is unstable against moisture, it can be used for furniture for the living room, but it is not suitable for the kitchen and bathroom.
- A great option - FOF. The plywood is covered with a protective film. It is expensive, but high-quality, in addition, the film can be colored.
Grade
This indicator is determined by the appearance of the surface. It is designated by the letter E - this is the highest quality. The following are the lowering coefficients, they are indicated by Roman numerals from I to IV or ordinary Arabic. In this case, the same sheet can be of two grades - separately for the face and the wrong side.
Grinding
Unpolished material is designated as NSh. There may be other options:
- Ш1 - one side is polished;
- Ш2 - the sheet is ground on both sides.
to contents ↑Important! On some sheets you can see the letter F with different indices - this is the amount of formaldehyde.
Some basic principles of working with plywood
Before you make a table out of plywood with your own hands, as well as any other furniture, try to master the basic principles of working with this material. This applies to tools. It is better to use a jigsaw, and for some particularly delicate work - a manual jigsaw. Any of them allows you to make high-quality slices, and not necessarily straight.Jigsaw cutting is a separate genre, a manual jigsaw allows you to cut fancy lines that require high precision, and electric - speeds up the process where ultra-precision is not needed.
Important! Pay attention to the files. The smaller the cloves, the more accurate the cut.
Fasteners
Do-it-yourself plywood table, as well as a cabinet, a stool or hanging shelves, need to be fastened only with special screws. They are designed for fastening wooden parts and hold perfectly even in chipboard, not to mention plywood and wood.
To work with self-tapping screws you will need a drill - manual or electric, and a set of drills.
to contents ↑Important! A hole is made for the screws in advance, and it should be slightly less than the diameter of the fasteners - by about 2 mm.
DIY plywood dining table
Now you know how to choose plywood, how to work with it, and even tried to make a small table. You can move on to further achievements. For example, make a dinner table from plywood with your own hands. It will be not much harder than the magazine one, if you choose the right materials, and you already know the process:
- As with making a coffee table with your own hands, draw a sketch and draw patterns of legs and countertops.
- Templates can be handed over to the printing house to be printed on a special self-adhesive film - then they can be glued directly to plywood and cut on them.
- Prepare the plywood - if it is too thin, glue 2-3 sheets together, the table should not bend.
- Grind cuts and surfaces, if necessary.
- On the underside of the countertop, outline the space for the leg holes.
- Drill them, but not right through.
- Turn the upper parts of the legs with a manual milling machine so that they fit into the prepared grooves.
- Glue the legs.
- Place the table as it will stand.
- Level the legs.
Round plywood table
How to make a table out of plywood with your own hands, if you prefer a round or oval shape? Yes, just like any other. Only you will need a template for the countertop. If you need a small coffee table, you can use a round tire. Only it must be washed very well.
Important! There are options when the tire becomes part of the table - the countertop is attached directly to it, so that it turns out not only the table, but also a cavity for various little things. But you can make just a countertop with legs.
So circle the tire on the plywood:
- Cut the countertop.
- Grind it.
- Flip the backside.
- Mark the footwell.
- Drill it.
Leg
The leg of such a small table is a wooden round stick on the cross - this is the easiest option. You can make a table on four legs, but you need to position them correctly:
- Lay the worktop blank face down.
- Find the center (this must be done very accurately).
- Draw 2 diameters at an angle of 90 ° to each other.
- On these diameters, drill holes for the legs, backing 5-10 cm from the edge.
- Glue or fix the legs with the corners.
DIY plywood kids table
If you have already tried to make a dining table or a coffee table out of plywood, children's furniture will not be a problem for you. The main thing here is to make the table in size, and that the product is durable and safe. Therefore, we do it on the frame.
You will need:
- a piece of thick plywood for the countertop (can be glued from several sheets);
- strips of plywood for the frame and legs;
- carpentry tools;
- fasteners.
The procedure will be as follows:
- Cut the blanks for the legs - according to the templates, if necessary, glue the legs from several layers.
- Prepare the countertop (glue from several layers, sand it).
- Cut strips for the frame - their width is 10-15 cm, length 10 cm shorter than the sides of the countertop.
Start the assembly with the frame, which is placed under the countertop:
- Check how straight the corners are.
- Fasten the sides of the frame with furniture corners.
- Screw the legs in the corners so that their upper parts are inside the frame.
- The tabletop can be glued or fixed with screws.
- Be sure to mow the corners.
- Paste over the worktop with edge tape.
- The legs can be joined by rungs at the bottom for greater stability of the entire structure.
How to finish the table?
It depends on what it is intended for, by what technology you assembled it, and what furniture you already have. The only thing you should not do is paint. But there are many other options:
- varnish;
- waxing;
- paste with a self-adhesive film (if the table should be in harmony with existing furniture).
Stock footage
In a word, making a table from plywood is a process accessible even to a novice master. The most important thing in this story is to find the right materials and buy good tools. Try it, and maybe it’s you who will get a real masterpiece worthy of a palace, because even the most famous masters started from somewhere.


